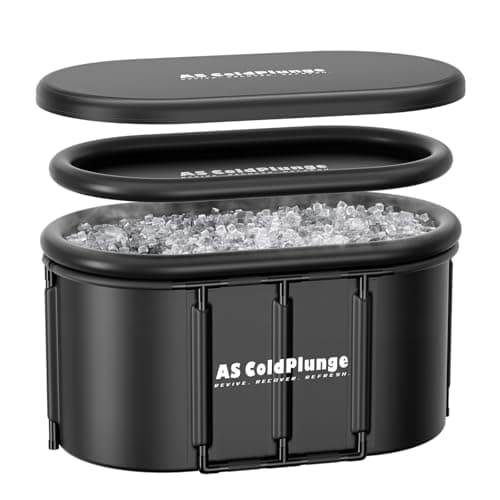
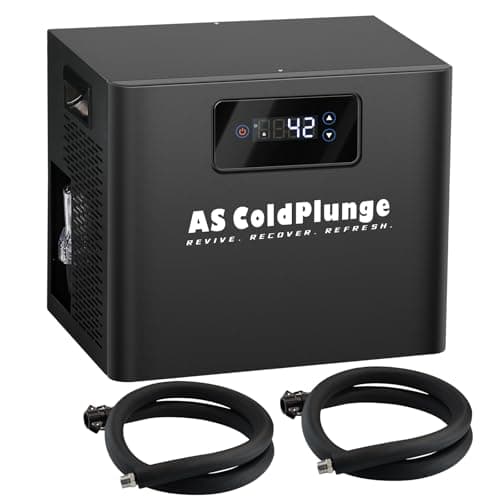
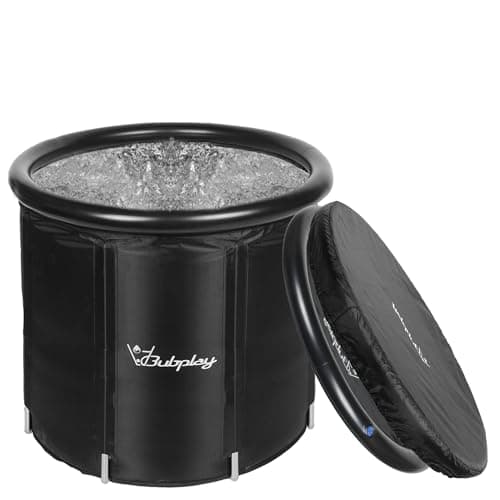
The honest answer: a stock tank with a lid is the DIY cold plunge worth building, a bathtub is the one worth starting with because you already own it, and a chest-freezer conversion is the one to leave alone unless a licensed electrician is doing the wiring. And before any of them — price a ready-made tub. The cheapest covered plunge tubs now cost less than a stock tank plus a lid plus the fittings, which has quietly made most DIY builds a hobby rather than a saving.
Informational only, not medical advice. Cold-water immersion and rapid hot-cold swings put real stress on the heart and circulation. If you have a heart or blood-pressure condition, are pregnant, or are unsure, talk to your doctor before plunging — and never plunge alone. Our
sauna safety guide has the full list of who should be cautious.
The three routes, with the real numbers
1. The bathtub. You own it. Fill it with cold water, add bagged ice, get in. It is the only zero-cost way to find out whether you like cold immersion, and a surprising number of people never need to go further. The limits are obvious: it is indoors, it is not insulated, you cannot leave it standing, and you cannot cover it. Use it for a fortnight before you spend anything.
2. The stock tank. A galvanised or poly livestock tank in the 100-150 gallon range is the classic build, and it is a good one: tough, cheap, round or oval, and a drain plug already fitted. Then you add the parts the videos skip — a fitted insulated lid or a cut sheet of rigid foam, a shaded or built-up surround so the sun is not working against you, a thermometer, and something to treat the water with. By the time those are in the basket, you are at or past the price of a purpose-made insulated tub with a lid included.
3. The chest-freezer conversion. A chest freezer holds a set temperature, which is why this build is so appealing: it is the only DIY route that gives you chiller-like behaviour for the price of an appliance. It is also the route we will not walk you through step by step, and the reason is specific rather than squeamish. A chest freezer is a sealed metal box whose electrical components, insulation and cabinet were designed for dry goods, and you are proposing to fill it with 80 gallons of water and climb in. Sealing the liner, keeping water off the compressor and controls, and providing proper grounding and GFCI protection to the NEC as adopted locally are not optional refinements. If you are set on it, have a licensed electrician do the supply side and fit a GFCI, and understand that no appliance warranty survives the conversion. For most people a purpose-built chiller on a proper tub is the safer, and increasingly the cheaper, way to get a held set point.
What a DIY build still has to solve
| Problem | Why it bites | What solves it |
|---|
| Heat gain | Sun and air warm an open tub within hours | An insulated lid, shade, and insulation under the base |
| Water hygiene | Standing water plus body oils equals biofilm in days | A cover, a filter or regular changes, and a plan for dosing |
| Drainage | 100-150 gallons has to go somewhere, repeatedly | A sited drain plug, a hose, and somewhere it can legally go |
| Getting in and out | Cold legs plus a high galvanised wall is a fall risk | A step, a mat, and a grab point that is not the tub rim |
| Winter | A full tub that freezes solid splits fittings | Drain it, or keep it circulating |
None of those are reasons not to build one. They are the things a purpose-made tub has already answered, and they are where the cost difference between DIY and bought actually lives.
Water care, which nobody plans for
A cold plunge is a small volume of still water that human bodies get into. Cold slows biological activity; it does not stop it. Left alone, a tub goes cloudy within a week or two of regular use, and then you are changing 130 gallons more often than you want to.
Three practical approaches, in ascending order of effort: shower before you get in and change the water weekly; add a simple filter loop and change it monthly; or run a chiller with built-in filtration and ozone dosing and change it seasonally. The first is free and works fine for one person plunging twice a week. The third is where a chiller earns its keep beyond temperature — our chiller roundup covers which units include it.
Keep the tub covered whenever it is not in use, regardless of which route you pick. It is the single highest-leverage habit in cold plunging: it keeps the cold in, the leaves out and the water usable.
When buying beats building
We like a good DIY project, and this one is not what it was five years ago. The arithmetic has shifted: ready-made insulated plunge tubs with covers now start at prices that a stock tank, a custom lid and a bag of fittings cannot match, and they arrive shaped for a human rather than for a cow. Build it yourself if you want a permanent, plumbed, exactly-shaped installation, or if you have the tank already. Buy it if your goal is to be plunging next weekend.
The upgrade path is also cleaner when you buy: a chiller-compatible tub takes a chiller later without a fittings adventure, which is exactly the trap a DIY build sets for itself when the hose barbs do not match. If you are starting from zero, read best cold plunge tubs for beginners and then decide — and whichever route you take, set the temperature using the band in our cold plunge temperature guide rather than racing to the bottom of the thermostat.
Finally, site it next to the sauna. A DIY plunge thirty yards from the heat is a summer project; one three steps from the door becomes contrast therapy, which is the whole point.