HUB / INFRARED · Infrared Saunas
How to Assemble an Infrared Sauna
Most infrared cabins clip together in an afternoon with no tools and no electrician. Here's the honest step-by-step, the two-person reality, and the small mistakes that cause big headaches.
We earn a commission when you buy through our Amazon links, at no extra cost to you. It never affects our rankings, and we say so when the cheaper product is the better buy. How this works.
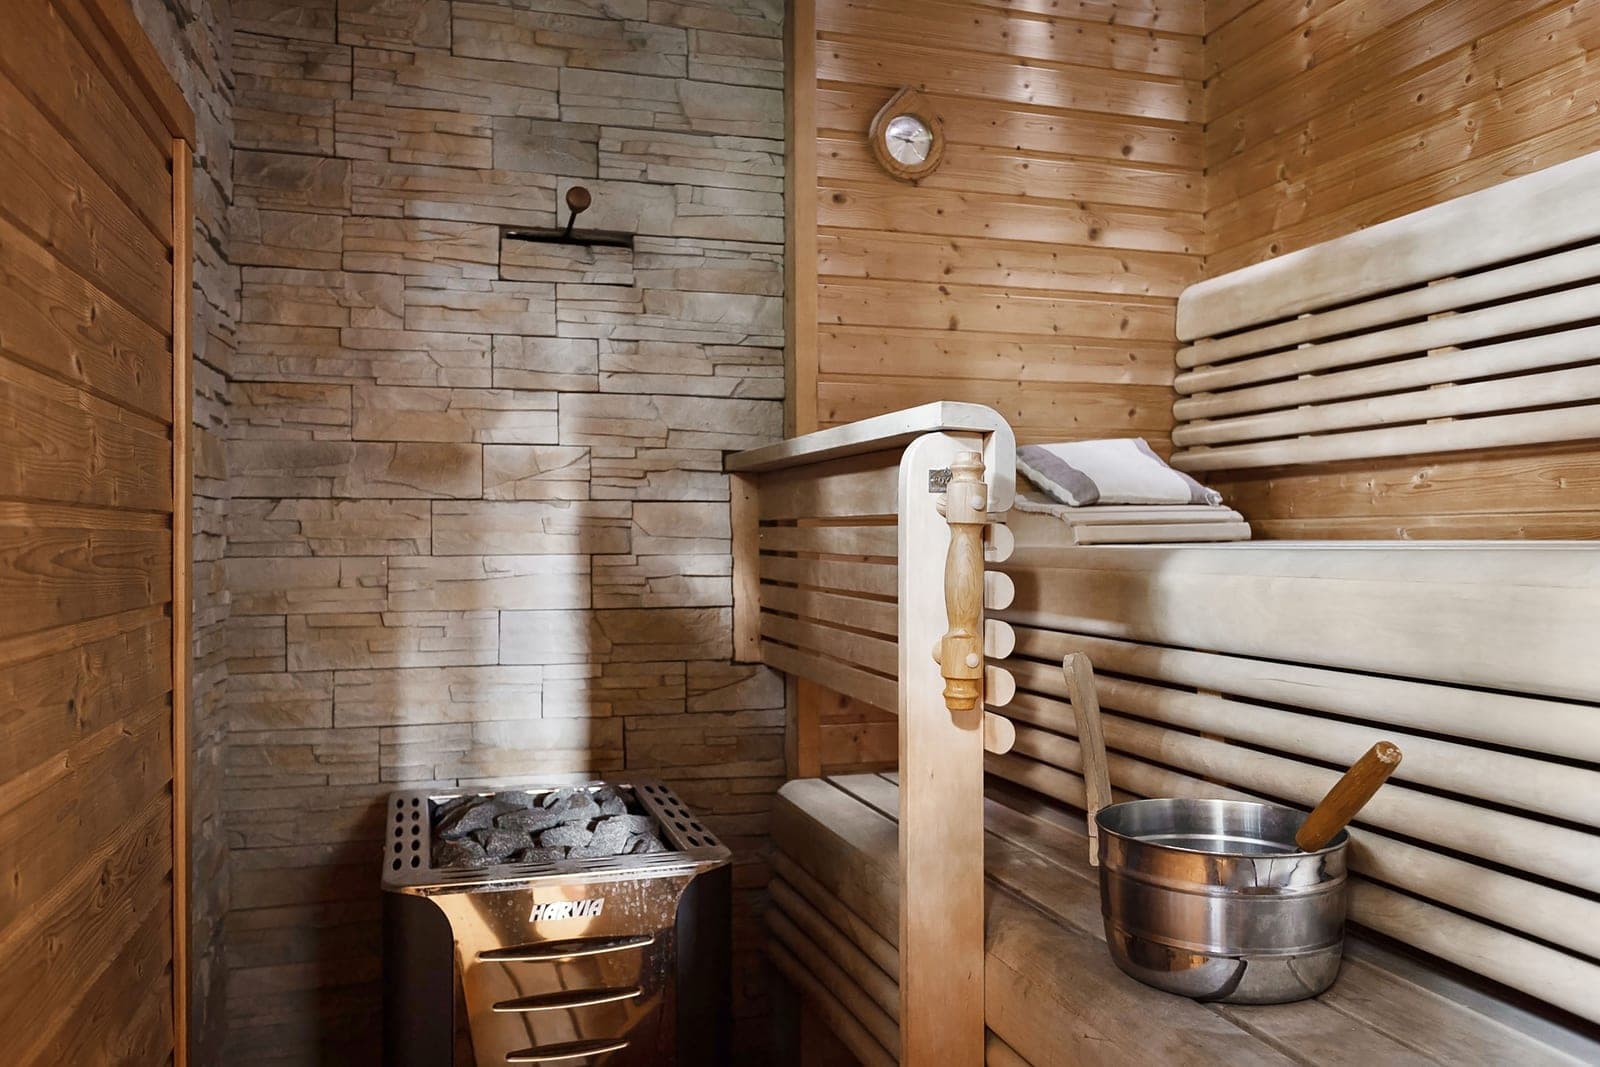
Most home infrared cabins are designed to clip together with buckle-and-latch panels in about one to two hours, with few or no tools — but it's genuinely a two-person job because the panels are heavy and awkward to hold square while you connect them. The good news: unlike a traditional sauna, there's no framing, no vapor barrier and no electrician — a plug-in far-infrared cabin arrives as flat-pack panels that assemble into a finished room. Here's how it goes, and where people trip up.
Before you start: read the manual and clear the space
Every brand's clip system is slightly different, so the manufacturer's manual is the real instruction set — this guide is the shape of the job, not a substitute for it. Two things to sort first. One, the location: pick the final spot before you build, because a fully assembled cabin is heavy and awkward to move, and site it within reach of a standard 120V outlet on a circuit that isn't already loaded (most 1-2 person far-infrared cabins draw roughly 1.6-1.8kW). Two, the clearance: leave room to walk around all four sides during assembly, plus a few inches of breathing space behind the finished cabin for the wiring and airflow. Unbox and lay the panels out so you can identify each one — floor, back, two sides, front with the door, roof, bench and the control/heater harness — before anything clicks together.
The tools you actually need
- A second person.The single most important "tool." Panels are heavy glass-and-wood and must be held vertical and square while you fasten the clips.
- Usually just your hands — most cabins use wall-mounted buckle latches or magnetic connectors that need no tools. Some use a screwdriver or a supplied Allen key for the bench and roof.
- A soft blanket or the packagingto stand panels on so you don't chip an edge, plus a level if your floor is uneven.
The step-by-step, in the order it usually goes
Nearly all clip-together infrared cabins follow the same sequence:
- 1. Set the floor panel.Position it in the cabin's final location, level. If your cabin doesn't include a floor, mark the footprint on a flat, hard surface.
- 2. Stand the back and side walls.With your helper holding each panel upright on the floor, mate the corner latches. Back-plus-one-side first gives you a stable L to work from, then add the second side. Fasten the wall-to-wall buckles as you go — don't leave them loose.
- 3. Add the front panel with the door. This closes the box. Check the door swings freely and the reveal is even before you tighten everything — a rushed, out-of-square wall is why a door binds later.
- 4. Connect the electrical plugs. The roof, control panel and heaters join with keyed connectors — they only fit one way. Seat each firmly and route the wires in their channels so nothing gets pinched when the roof drops on. This is low-voltage plug-in wiring, not a mains job.
- 5. Lower the roof on. With two people, lift it square and drop it onto the wall tops, then latch it. Feed the control cable through before it seats.
- 6. Fit the bench, backrest and floor mat, then hang the control panel in its bracket.
- 7. Test before your first real session.Plug in, power on, and run it warm for a short cycle to confirm every heater lights and the controller reads correctly. A faint "new" smell on first heat is normal and fades.
The mistakes that cause problems
Three recur. Forcing a panelthat doesn't line up — if a clip won't close, the walls are out of square, not stiff; back off and re-seat rather than muscling it, or you'll crack a joint or a glass edge. Pinching a wire under the roof or behind a panel, which can kill a heater or the controller; keep the harness in its channels. And building it in the wrong spot — assembling in the garage and then trying to carry a finished cabin through a doorway. Build it where it lives. Take your time on the first two wall joints; once the box is square, the rest goes quickly.
How long it takes, and when to get help
Two people who read the manual first typically have a 1-2 person cabin standing in one to two hours. Larger 3-4 person cabins take longer and are heavier — worth a third pair of hands. There's no electrician needed for a plug-in far-infrared cabin; the only wiring you touch is the keyed low-voltage connectors between panels. (A full-spectrum or traditional sauna is a different story — those often need a 240V circuit and a licensed electrician.) If a panel arrives damaged or a connector won't seat, stop and contact the brand rather than improvising — one reason we weight brand support so heavily across the best infrared saunas rankings.
After it's built
Give it that first warm-up cycle with the door cracked to clear any manufacturing smell, then it's ready. Keeping it in good shape is easy — a quick wipe-down after sessions and an occasional deeper clean, covered in infrared sauna maintenance. And if you're still deciding whether a cabin is the right call versus a blanket or a traditional room, are infrared saunas worth it is the honest gut-check.
Questions
Frequently asked
How long does it take to assemble an infrared sauna?
Do you need an electrician to set up an infrared sauna?
Can one person assemble an infrared sauna alone?
Why does my new infrared sauna smell on the first use?
Keep reading
Related
More in Infrared Saunas
Receipts
Sources
We do not run a testing lab, and we do not pretend to. Product specs are transcribed from the manufacturer's own listing and cited as claims; health figures come from peer-reviewed studies, named and linked. Where we could not verify something, we say so on the page rather than quietly leaving it out. Read our full method.