HUB / BARREL · Barrel Saunas
The Outdoor Sauna Guide
Planning an outdoor sauna, barrel or cabin, is mostly the boring parts done right: where it goes, what it sits on, how it is heated and powered, and how it survives winter. Here is the practical, honest version.
We earn a commission when you buy through our Amazon links, at no extra cost to you. It never affects our rankings, and we say so when the cheaper product is the better buy. How this works.
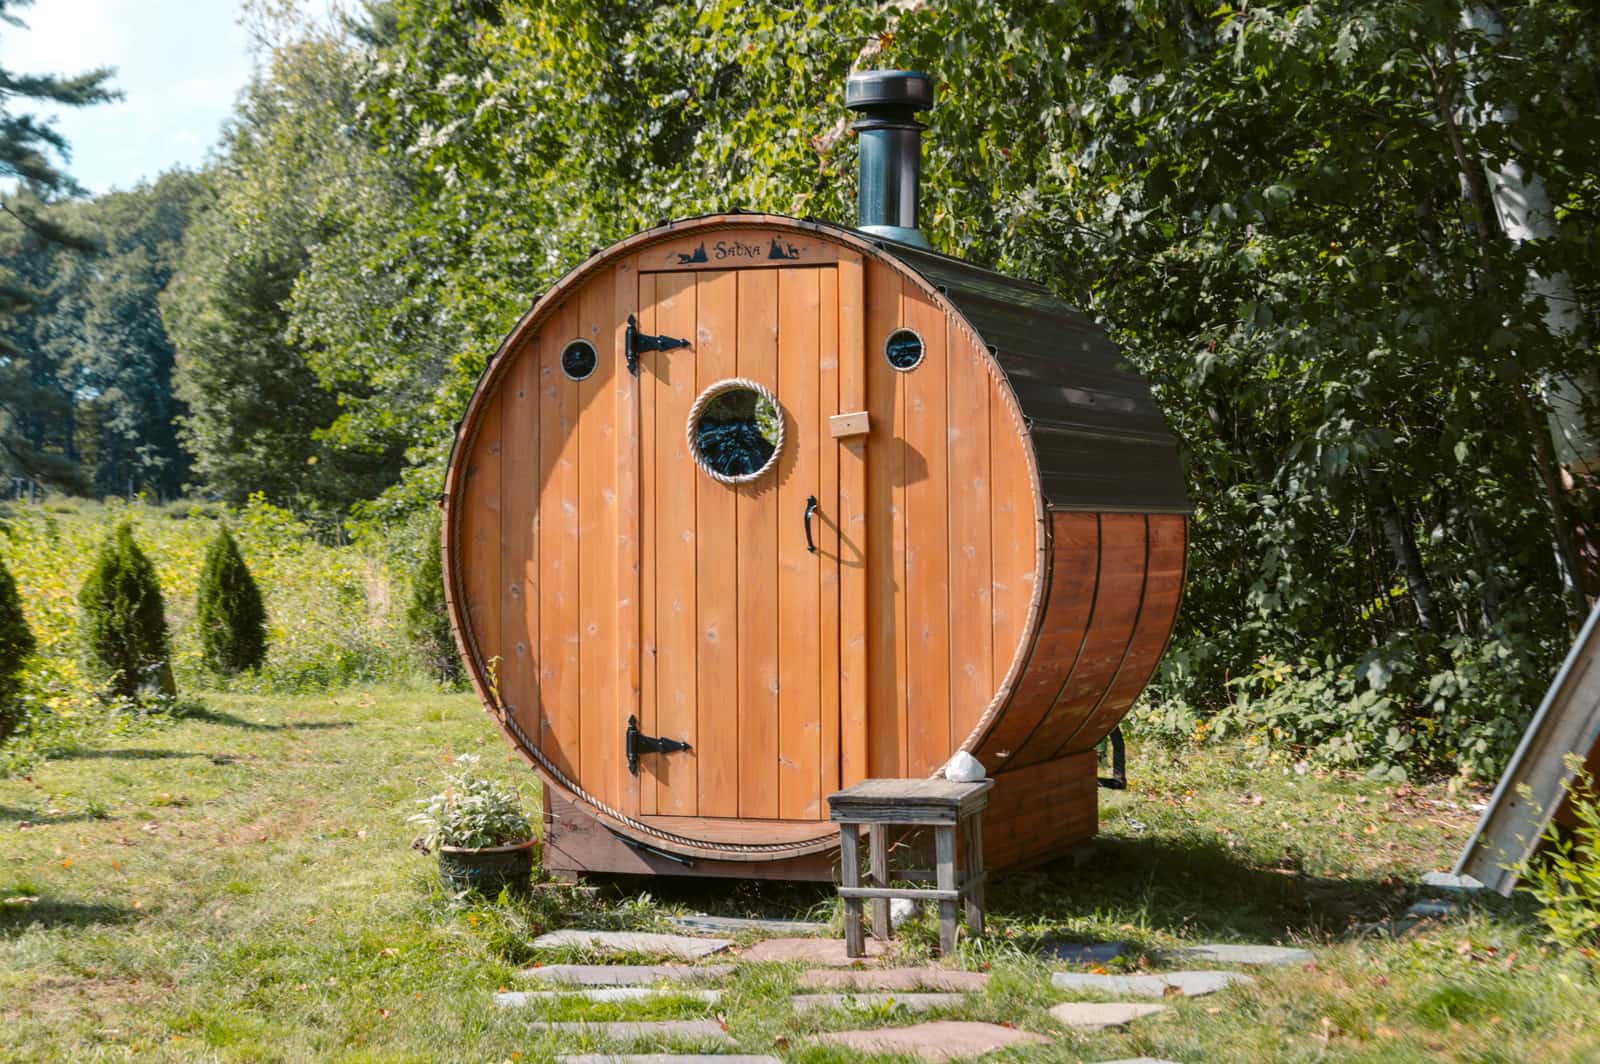
An outdoor sauna is a wonderful thing, and most of the work that makes it a success happens before it ever gets hot — where you put it, what it sits on, and how you power it. Get the siting, the foundation and the heat source right and the sauna itself almost takes care of itself; get them wrong and no barrel or cabin will save you. This is the practical, honest planning guide — the tradition it plugs into is centuries old (Finnish Sauna Society), but the groundwork is pure common sense. Here is how to think it through, and where to defer to a professional.
Siting: where the sauna actually goes
Before you choose a barrel or a cabin, choose the spot. A good site is close enough to the house that you will actually walk out to it in January, with a clear, safe path you can travel wet and warm — not across gravel in bare feet. Leave working clearance all the way around it for maintenance and, if it is wood-fired, for fire safety. Think about privacy and the view from the benches, about where snow and rain drain (you want water running away from the foundation, never toward it), and about where a wood stove's chimney will sit relative to trees, eaves and your neighbors. Level, well-drained ground near the house beats a scenic-but-awkward corner every time. If you are still deciding between an outdoor build and an indoor one, our outdoor vs indoor sauna guide weighs the trade.
A level foundation is non-negotiable
A sauna must sit on a firm, level base — this is the single most common thing people underestimate. A barrel's cradles and a cabin's frame both need even support, or the door will bind, the staves can shift and water will pool where it should not. You have three good options: a compacted gravel pad (the most forgiving and best-draining, and often the easiest to DIY), concrete pavers or a slab (solid and tidy, more work to get dead level), or an existing deck that is genuinely rated to carry the loaded weight — a barrel full of water-soaked wood and several adults is heavy, so confirm the deck can take it before you assume so. Whatever you choose, it must be flat, drain away from the sauna, and stay stable through freeze-thaw. Our barrel sauna foundation guide covers each option in detail.
Electric or wood — the heat you run in the yard
Outdoors, the electric-versus-wood choice carries a bit more weight than indoors. Electric heaters give you thermostat control and a heater you can pre-warm and walk away from — the convenient option, and the norm on kits like the value electric barrels we rank in our best barrels under $5,000 — but they need a 240V circuit run out to the sauna (more on that next). Wood-burning stoves need no electricity at all, which makes them ideal for a yard with no power to run to, and they give the crackle-and-smoke session purists love — at the cost of tending the fire every time and obeying strict fire codes and clearances from anything combustible. Neither is wrong; they suit different yards. If you want a specific electric group barrel, see our Allwood vs Smartmak comparison.
Running power out to the yard — defer this to a pro
An electric outdoor sauna needs a real electrical circuit, and this is the part to hand to a professional without hesitation. A residential sauna heater runs on 240V, which means a dedicated circuit sized to the heater, run out to the yard in the right buried conduit or cable, protected and grounded correctly, and — in almost every jurisdiction — permitted and inspected to code (NFPA). Outdoor and buried wiring has its own rules on top of the ordinary ones, and getting them wrong is genuinely dangerous around a wet, hot environment. This is not a DIY job: hire a licensed electrician, pull the permit, and pass the inspection. Treat that cost and effort as part of the sauna, not an optional extra. Our barrel sauna installation guide covers what to brief your electrician on.
Year-round and winter use
The best time to use an outdoor sauna is often the worst weather — the contrast of deep heat and cold air is the whole point, and it is why the tradition thrives in the Nordic winter (Finnish Sauna Society). To use it comfortably in winter, plan for it now: a cleared, non-slip path from the house, a place to step and change that is not a snowbank, and enough heater power to reach temperature against the cold. Expect a longer warm-up in freezing weather, and make sure whatever heats it — electric or wood — is sized for your climate, not just the barrel's volume. Our barrel sauna winter use guide covers the cold-weather specifics.
Wood and weathering
An outdoor sauna lives in the weather, so the wood needs a little respect. Cedar is the premium choice for exactly this reason — it is naturally aromatic and rot-resistant — but most affordable barrels are Canadian hemlock, which does fine outdoors as long as you let it breathe and dry. Do not seal or varnish the interior; sauna wood is meant to stay bare so it can release moisture. The exterior can be treated per the manufacturer's guidance to slow graying, and either way the wood will silver over time, which is normal weathering, not damage. Keep the roof and any bands or hardware sound, keep water draining away from the base, and let the interior dry fully between sessions. Do that and a hemlock barrel lasts years outdoors.
Ventilation, drainage and the small details
A few practical details separate a sauna you love from one that is a chore. Ventilation matters even outdoors: a sauna needs fresh air moving through it to breathe properly and to dry out after a session, so do not block the vents the manufacturer built in, and let the interior air out with the door open when you are done. Drainage is the other quiet essential — water from sweat, loyly and rain has to go somewhere, so a sauna floor should shed water and the ground beneath the pad should carry it away, never let it sit against the wood. Think, too, about the parts you only notice when they are missing: a light for evening sessions, a place to hang towels and robes out of the weather, a mat or duckboard for wet feet, and — if children can reach it — a sensible way to keep them away from a hot barrel or a live fire. If the sauna is electric, make sure the circuit your electrician runs includes the ground-fault protection outdoor wiring calls for (NFPA). None of this is expensive; it is just easy to forget until the first session reminds you.
The honest bottom line
An outdoor sauna succeeds or fails on the planning, not the product. Pick a level, well-drained site near the house; put it on a proper gravel pad, pavers or a rated deck; choose electric or wood to suit your yard and your patience; and if it is electric, hire a licensed electrician to run a permitted 240V circuit out to it (NFPA). Plan for winter and let the wood weather naturally, and you will have a sauna you actually use year-round. Start with the foundation, read up on winter use, and if you are still choosing indoor versus out, our outdoor vs indoor sauna guide is the place to settle it.
Questions
Frequently asked
What do you need to install an outdoor sauna?
Does an outdoor sauna need a concrete foundation?
Can you run an electric outdoor sauna without an electrician?
Can you use an outdoor sauna in winter?
Keep reading
Related
More in Barrel Saunas
Receipts
Sources
- NFPA — National Electrical Code (NEC) and standards
- Finnish Sauna Society (Suomen Saunaseura) — traditional sauna bathing and loyly
We do not run a testing lab, and we do not pretend to. Product specs are transcribed from the manufacturer's own listing and cited as claims; health figures come from peer-reviewed studies, named and linked. Where we could not verify something, we say so on the page rather than quietly leaving it out. Read our full method.