HUB / BARREL · Barrel Saunas
Barrel Sauna Installation: The Honest Guide
A backyard barrel is a real project, not an appliance. Here's the foundation, the clearances, the drainage and the wiring done properly — and where a licensed electrician and a permit are not optional.
We earn a commission when you buy through our Amazon links, at no extra cost to you. It never affects our rankings, and we say so when the cheaper product is the better buy. How this works.
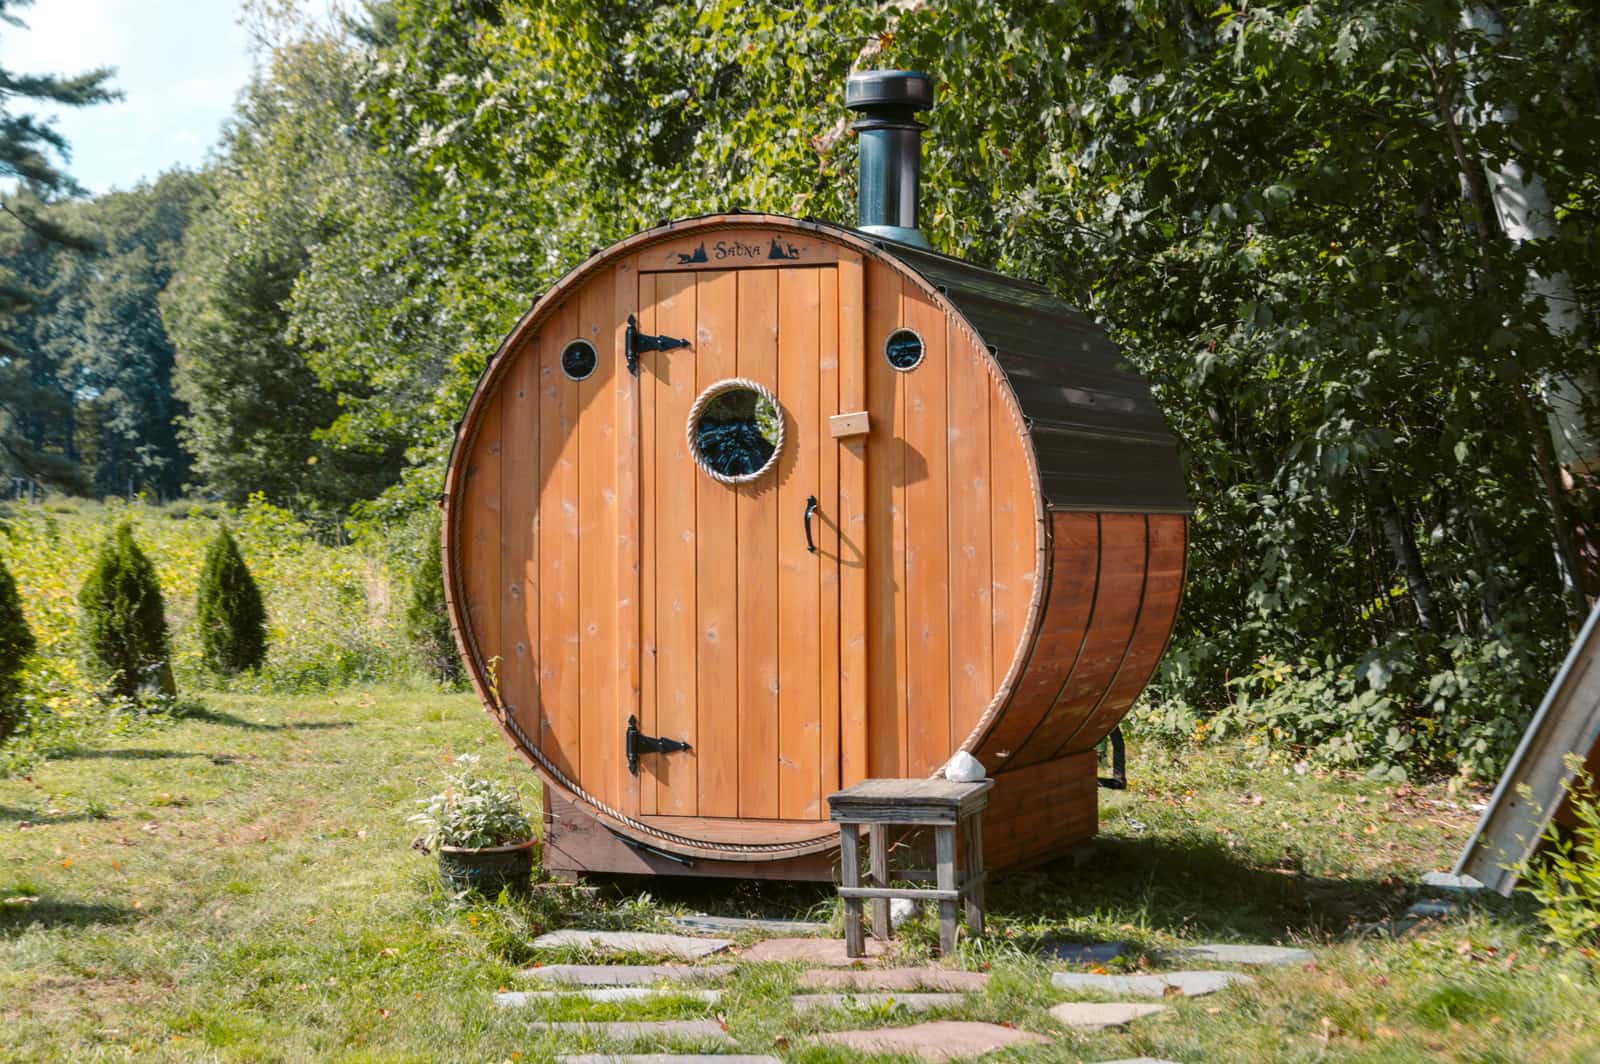
A barrel sauna succeeds or fails on the foundation and the wiring, not the barrel. The cylinder itself arrives as a kit and goes together in an afternoon. What separates a barrel that lasts fifteen years from one that warps, pools water or trips a breaker is the groundwork underneath it and the electrical behind it — and two of those steps are where honest guides tell you to stop and hire a professional. This is that guide.
Step 1: A level, load-bearing foundation
A full barrel sauna with people in it is heavy, and it must sit dead level on something that will not shift or sink. Grass and bare soil are not foundations — they settle unevenly, hold moisture against the wood and invite rot. The standard options, cheapest to best: a bed of compacted gravel, a set of concrete pavers or deck blocks, a proper concrete pad, or an existing level deck rated for the weight. Whatever you choose, get it flat: an out-of-level barrel drains poorly, stresses the bands and the door, and never quite feels right to sit in.
Barrels ship with cradles or supports that the cylinder rests in — set those on your level base, not directly on the ground. Leave the underside ventilated so air can circulate and the staves can dry between uses. Trapped moisture under a barrel is the number-one enemy of its lifespan.
Step 2: Clearances, drainage and siting
Give the barrel room. You need space to walk around it, to open the door fully, and — for a wood-burning barrel — serious clearance from the chimney to anything combustible, per your local fire code (NFPA publishes the standards your jurisdiction adopts). Site it where water drains away from the base, not toward it, and where run-off from the roof or gutters will not pool underneath. Think about the walk from the house too — in winter you will thank yourself for a short, sheltered path.
Sun and wind matter more than people expect. A barrel in a wind tunnel loses heat and costs more to run; one baking in all-day sun weathers faster on the exposed side. A spot with some shelter and afternoon shade is kinder to both the wood and your electricity bill.
Step 3: The electrical — where you hire a professional
Almost every electric barrel that seats four or more runs on a dedicated 240V circuit, not a wall outlet. Running that circuit — sizing the wire and breaker to the heater's kW, routing it safely to an outdoor location, and terminating it to code — is licensed-electrician work, full stop. This is not a corner to cut to save a few hundred dollars: an undersized or improperly grounded circuit feeding a heater in a wet environment is a genuine fire and shock hazard. Our sauna electrical requirements guide explains what the circuit needs to look like so you can talk to your electrician from an informed position — but the work itself is theirs, not yours.
A wood-burning barrel sidesteps the electrical entirely, which is one of its real advantages — no circuit, no electrician, works off-grid. It trades that for a chimney, clearances and the hands-on tending a fire demands. If your yard is unwired, that trade may make the whole decision for you.
Step 4: Permits — check before you dig, not after
Whether you need a permit depends entirely on where you live, and it is not something to guess at. Many jurisdictions treat a barrel sauna as an accessory structure and/or require a permit for the electrical work regardless; some have setback rules from property lines, and HOAs frequently have their own say. The honest advice is boring but important: call your local building department before you order, describe the structure and the electrical, and get the answer in writing. A permit pulled up front is a formality; one discovered after installation is a headache — or a teardown.
Step 5: Assembly and first fire
With the base level and the circuit run, the barrel itself is the easy part: most kits are a few hours with a second pair of hands, following the manufacturer's sequence for the staves, bands, benches and door. Fit the heater and stones per the instructions, keeping the specified clearances around the stove. Before you use it properly, run a first heat-up to cure the wood and burn off manufacturing residue, with the door cracked and the room ventilated. Then read our barrel sauna maintenance guide — the habits you build in the first month (drying it out, treating the exterior) are what deliver the fifteen-year lifespan the cedar was chosen for.
What it all adds up to
Budget for more than the barrel. A realistic all-in figure includes the foundation materials, the electrician for a 240V install, possibly a permit fee, and delivery of a heavy crate. We add the real numbers up on the barrel sauna cost page. Do the groundwork and the wiring properly and a barrel is one of the most rewarding backyard projects there is; skip them and it becomes the thing that warped, leaked or tripped the breaker. The barrel is the reward — the base and the circuit are the job.
Questions
Frequently asked
What kind of foundation does a barrel sauna need?
Can I install an electric barrel sauna myself?
Do I need a permit for a barrel sauna?
How long does it take to install a barrel sauna?
Keep reading
Related
More in Barrel Saunas
Receipts
Sources
- NFPA — codes and standards (clearances to combustibles, electrical)
- Harvia — electric sauna heater specifications and room-size guidance (manufacturer)
- Almost Heaven Saunas — US-built barrel and cabin saunas (manufacturer)
We do not run a testing lab, and we do not pretend to. Product specs are transcribed from the manufacturer's own listing and cited as claims; health figures come from peer-reviewed studies, named and linked. Where we could not verify something, we say so on the page rather than quietly leaving it out. Read our full method.