HUB / BARREL · Barrel Saunas
How to Assemble a Barrel Sauna
Most barrel saunas ship flat-pack. Here's the assembly order — end walls, staves, floor, steel bands, door, benches and roof — plus the checks that matter and where a licensed electrician has to take over.
We earn a commission when you buy through our Amazon links, at no extra cost to you. It never affects our rankings, and we say so when the cheaper product is the better buy. How this works.
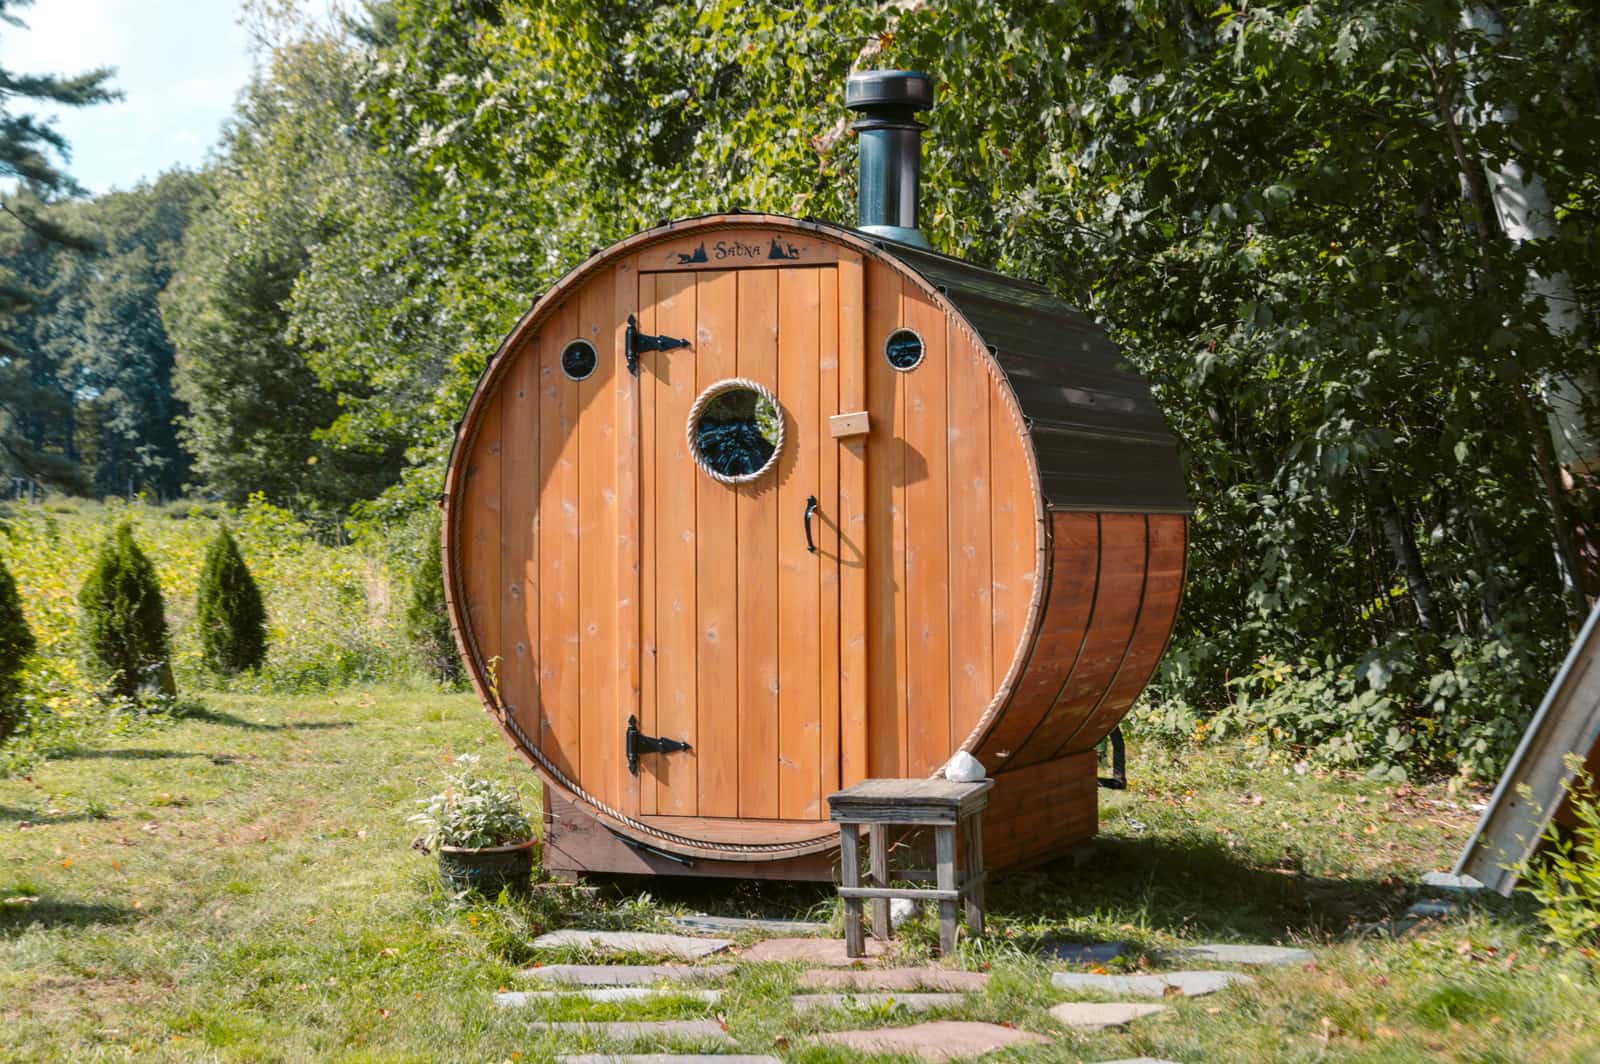
A barrel sauna kit goes together in a predictable order: build the end walls, lay and fit the curved staves, seat the floor, tension the steel bands, then fit the door, benches and roof, and finally the heater. It's a two-person-plus job, and the electric heater hookup is a licensed electrician's work, not part of the flat-pack build. This guide is about the kit assembly itself — the carpentry of turning a stack of staves into a sauna. It deliberately doesn't re-cover siting, the pad and the wiring run, because those belong to barrel sauna installation. Read that for the ground-up picture; use this for the order of operations once the kit is in front of you.
First: build the base, not the barrel
Before a single stave goes down, you need a firm, level base for the barrel to sit on. A barrel is heavy and its weight rides on two curved cradle supports, so any twist or sag in the ground telegraphs straight into the door fit and the band tension. Get this right first — a level pad or footing sized for the barrel — because you can't fix a bad base after the sauna is built on it. The full options, from a gravel pad to a slab, are in barrel sauna foundation. Assemble on the finished base where the sauna will live; a built barrel is not something you want to drag across the yard.
The typical assembly order
Kits vary by brand, so the manufacturer's instructions always win — but nearly every barrel follows the same sequence:
- Set the cradle supports. Position the two curved base supports on the level pad at the spacing the manual specifies. Everything else sits on these, so square and level them carefully.
- Assemble the end walls and frames. The front (door) wall and back wall are usually pre-built or quickly assembled panels. Standing them up first gives the staves something to register against and sets the length of the barrel.
- Lay and fit the curved staves. Working from the bottom up, seat each tongue-and-groove stave into its neighbor and into the grooves in the end walls, building the curve up both sides toward the top. This is the fiddly part and the reason you want a second pair of hands holding staves in place.
- Seat the floor boards.Fit the floor section into the base of the barrel so there's a solid, level footing to stand and place benches on.
- Tension the steel bands. Wrap the two or more steel bands around the assembled staves and tighten them evenly. The bands are what hold a barrel together — there are no wall studs — so even, correct tension is what pulls the staves tight and keeps the whole thing rigid.
- Hang the door. Fit and adjust the door so it sits square in the front wall and seals cleanly all the way round.
- Fit the benches and backrests. Install the bench frames and boards at the heights the kit provides.
- Add the roof and shingles. Many kits include a roof kit or shingles that shed rain off the top of the barrel — fitting this protects the timber and helps the sauna hold heat.
- Place the heater last. Set the heater in its position, but leave the actual electrical connection to the electrician (below).
You'll want at least two people
A barrel sauna is not a solo build. The staves are long and awkward, the end walls are heavy, and the steel bands need holding and tensioning at the same time. Two people is the realistic minimum, and a third pair of hands makes the stave-fitting and roof stages much easier and safer. Plan for a good chunk of a day, a clear flat working area, and the basic tools the manual lists — rushing the fit is how you end up with a door that won't seal.
Check the door seal and band tension
Two things decide whether a finished barrel performs: the door and the bands. Check that the door closes square and sealsall the way around — a barrel loses heat fast through a gappy door, and it's far easier to adjust now than after the first cold-weather session. Then confirm the steel bands are evenly tensionedto the manufacturer's spec. Timber also moves as it settles and with the seasons, so bands often need a re-check and a nudge after the first few weeks and again seasonally — a quick task that keeps the staves tight and the barrel weathertight. If you're still choosing a kit, build quality and how well these parts fit vary a lot between models; the best barrel saunasranking is worth reading before you buy the one you'll be assembling.
The heater hookup is the electrician's job
You can place an electric heater as the last step of the physical build, but connecting it is not part of the flat-pack assembly. Every electric sauna heater runs on a dedicated 240V circuit that must be installed and connected by a licensed electrician, under the National Electrical Code and, in most jurisdictions, with a permit and inspection. It's never a DIY hookup, least of all for a wet, hot room outdoors. If your barrel is wood-fired instead, there's no wiring, but the stove needs its chimney run with the proper clearances to combustibles — again to the manufacturer's spec and code. Either way, the routing of that circuit or flue is planned as part of barrel sauna installation, not improvised at the end of the build.
The short version
Level base first, then end walls, staves, floor, bands, door, benches and roof, and the heater last — with two or more people and the manual open the whole time. Check the door seal and band tension before you call it done, and hand the electrical connection to a licensed electrician. Do that and a flat-pack barrel goes from a stack of cedar to a working sauna in a day.
Questions
Frequently asked
How hard is it to assemble a barrel sauna?
What order do you assemble a barrel sauna in?
Can one person build a barrel sauna?
Do I need an electrician to finish a barrel sauna?
Keep reading
Related
More in Barrel Saunas
Receipts
Sources
We do not run a testing lab, and we do not pretend to. Product specs are transcribed from the manufacturer's own listing and cited as claims; health figures come from peer-reviewed studies, named and linked. Where we could not verify something, we say so on the page rather than quietly leaving it out. Read our full method.